
Lesson Three: Designing a Makerspace
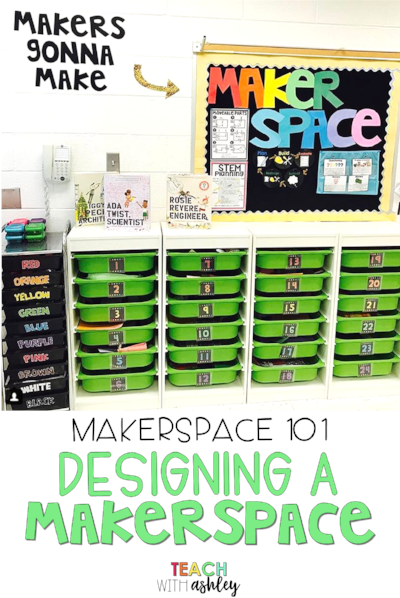


Identify ways to organize a makerspace so that it meets the needs of your classroom.
When designing a makerspace for your students, keep in mind the following things.
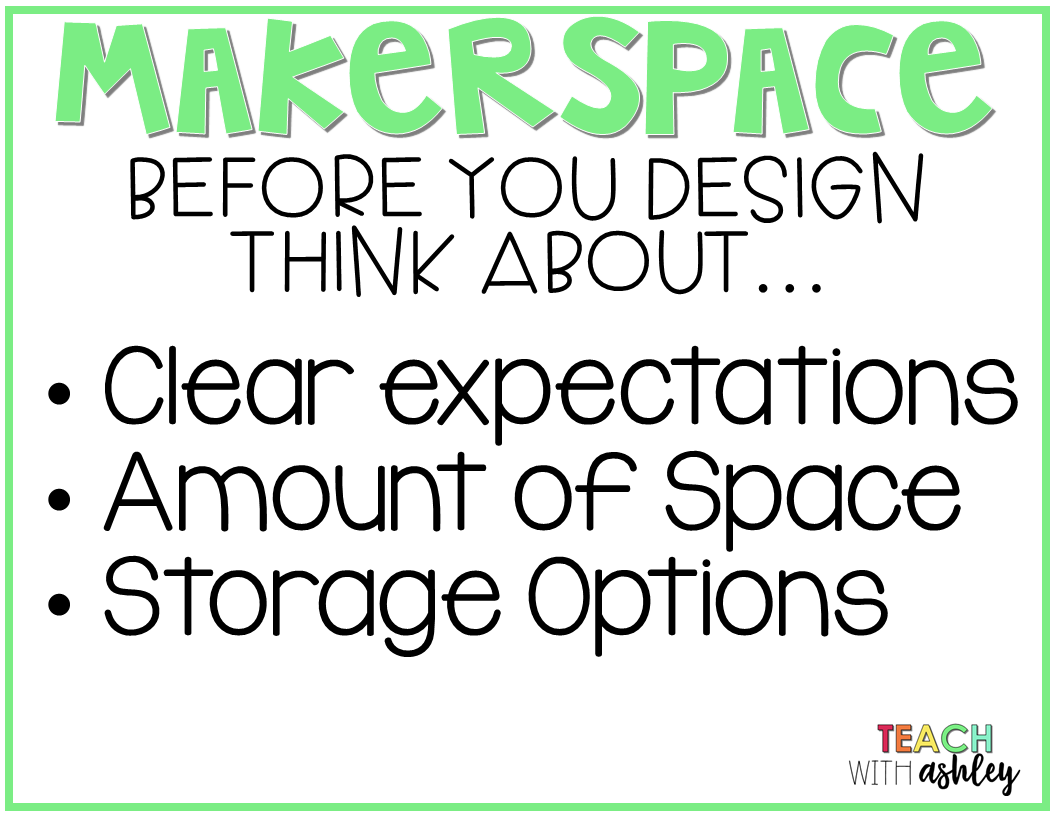

It’s important to have clear expectations displayed at your makerspace. Some of our makerspace guidelines include.

I also like to display techniques and skills we have learned as a class. It’s great to reference a previous skill when guiding student learning and they also get so inspired by them!


The amount of space you have for a makerspace can vary depending on your classroom or school. Here are a couple of examples of different sized makerspaces. If you are short on space- a makerspace cart might be a solution! Not only could you wheel the cart between classrooms and various grade levels, but it could be stored outside your room when not in use. Maybe you have a corner of your classroom that you could transform into a makerspace! It’s important to have a surface that students can build on like a table or counter. Perhaps you have a whole classroom in your school that could be used!


Let’s get organized! I highly recommend using bins to organize makerspace materials. Bins can be organized with labels that include pictures of each material. I have a mix of both bins with and without lids in our classroom. Bins allow flexibility, since they can be moved around more easily.


Paper trays are wonderful for storing colored construction paper, cardstock, old magazines, or newspapers.
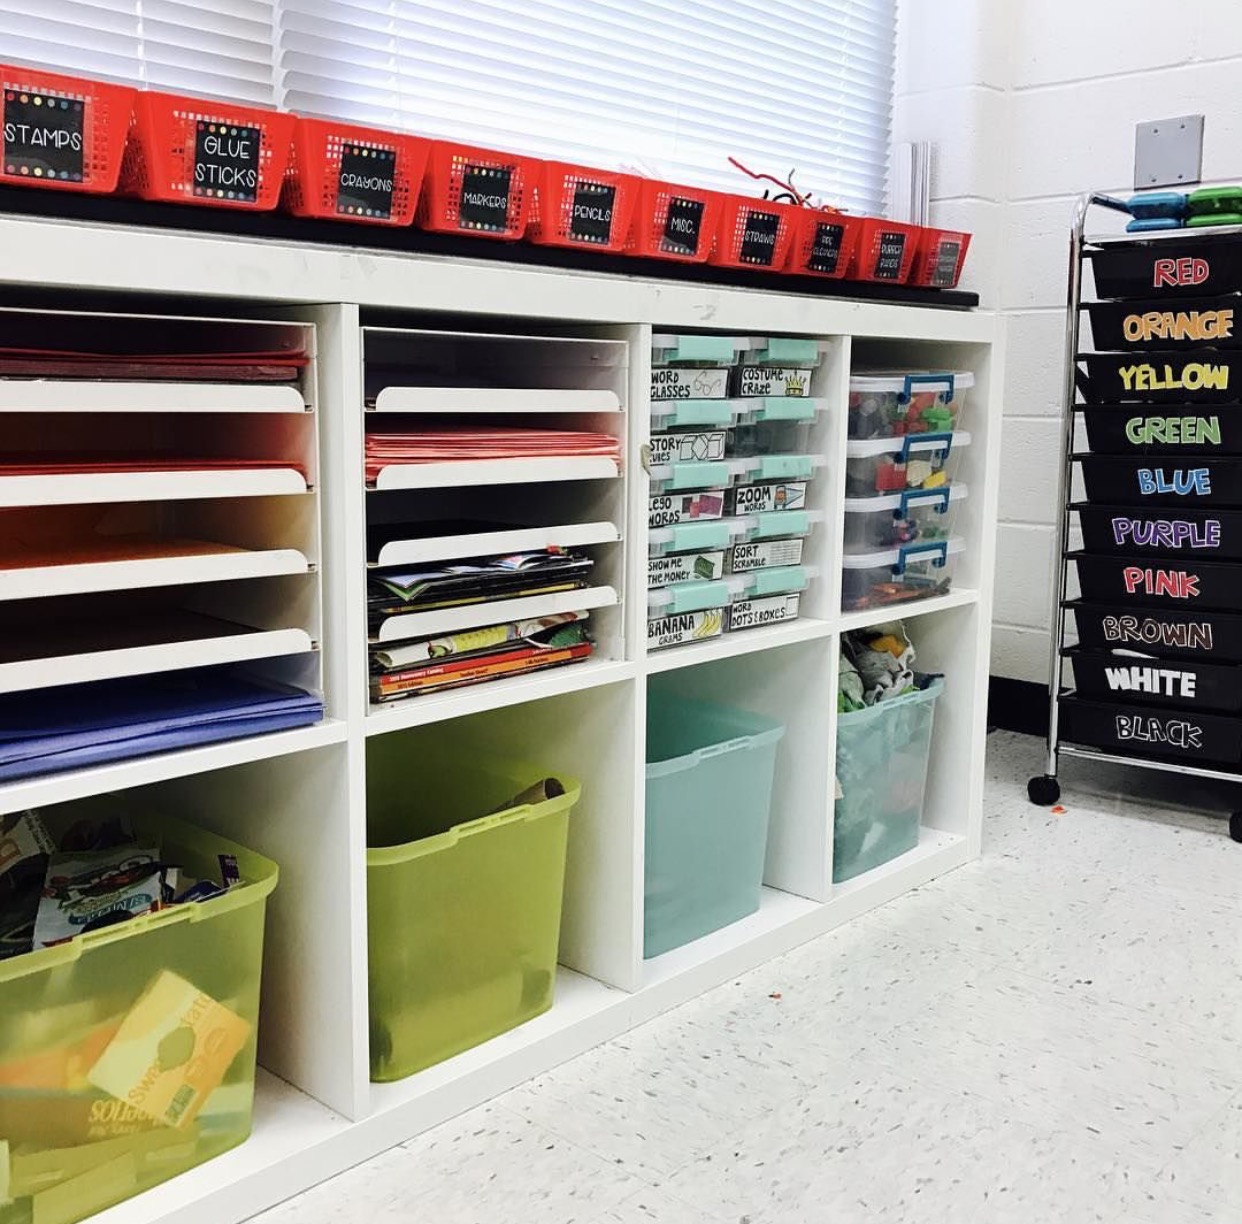
For storing larger materials like cardboard and other recyclables, laundry bins, or large storage bins like these work great! You might even want to have a place to store materials before they are put in your makerspace. (Think of it as a collection bin!)


I always have my students save colored scrap paper (don’t want to be wasteful!) This organizational drawer system has worked wonders. No more digging through a huge bin just to find that perfect colored scrap!


“How do your students store their current projects?” This is probably my most frequently asked question! I highly recommend storing student work in separate containers or drawers. This drawer system has been incredible. In the past I’ve had students share drawers, but sometimes my students would accidentally use someone else’s materials. Any drawer that could hold a standard sized sheet of paper would work.

If you want your students to work in groups when at the makerspace, you could always have them use large bins. Put a laminated index card or piece of packaging tape on the bin and have students write their group’s name on it.


•Identify how you want to organize your makerspace. What do you already have that you can use? What do you need to get?

